Building Manager Training Resources
Welcome to View Smart Windows — the future of smart, healthy, and sustainable buildings
With View Smart Windows, your building enhances your occupants’ experiences, providing them numerous health and wellness benefits, unlimited views, and maximized comfort. Additionally, our building management systems facilitate smooth building operations. We have compiled a variety of resources that will guide you throughout your View journey.
Resources
View Smart Windows Overview
Benefits of View Smart Windows
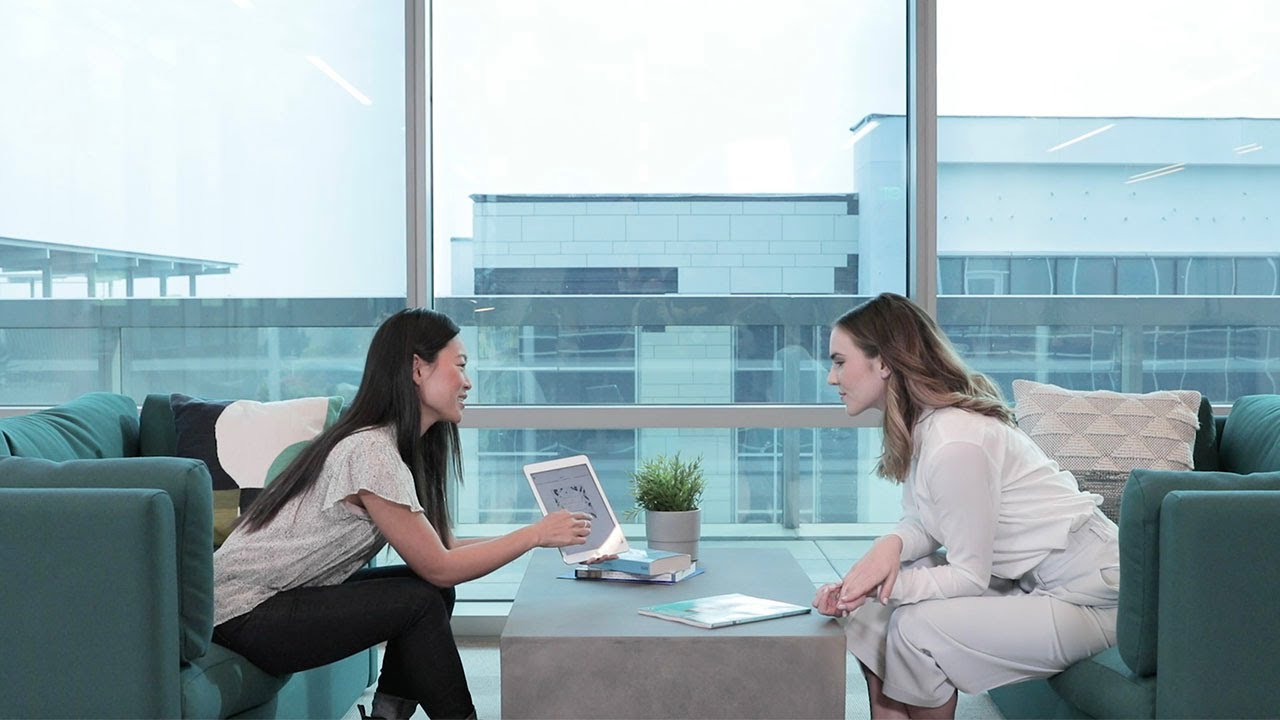
View was built on the understanding that natural light is required to live a healthy and productive life. Ordinary windows are far from optimized, unable to effectively reduce glare and heat. View Smart Windows have been proven to improve people's health and wellness by increasing their access to natural light.
Studies from Cornell, University of Illinois and SUNY Medical Center show that participants with View Smart Windows experience:
51% reduced eyestrain
63% fewer headaches
77% less likely to report depression
+37 minutes longer sleep
42% higher cognitive ability
21% higher productivity
What are View Smart Windows?
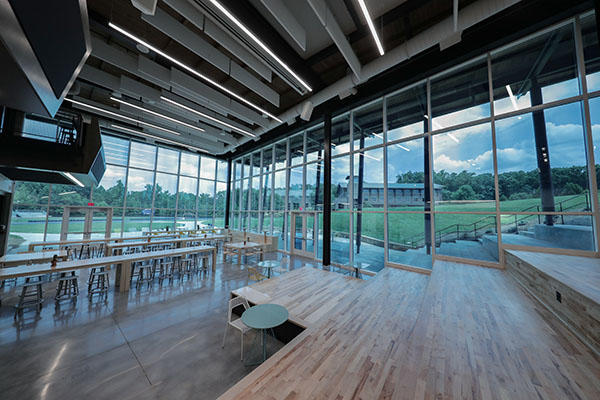
View Smart Windows increase access to daylight and views by automatically tinting throughout the day based on the position of the sun. View eliminates blinds and minimizes, heat, glare and exposure to pathogens.
How does it work?
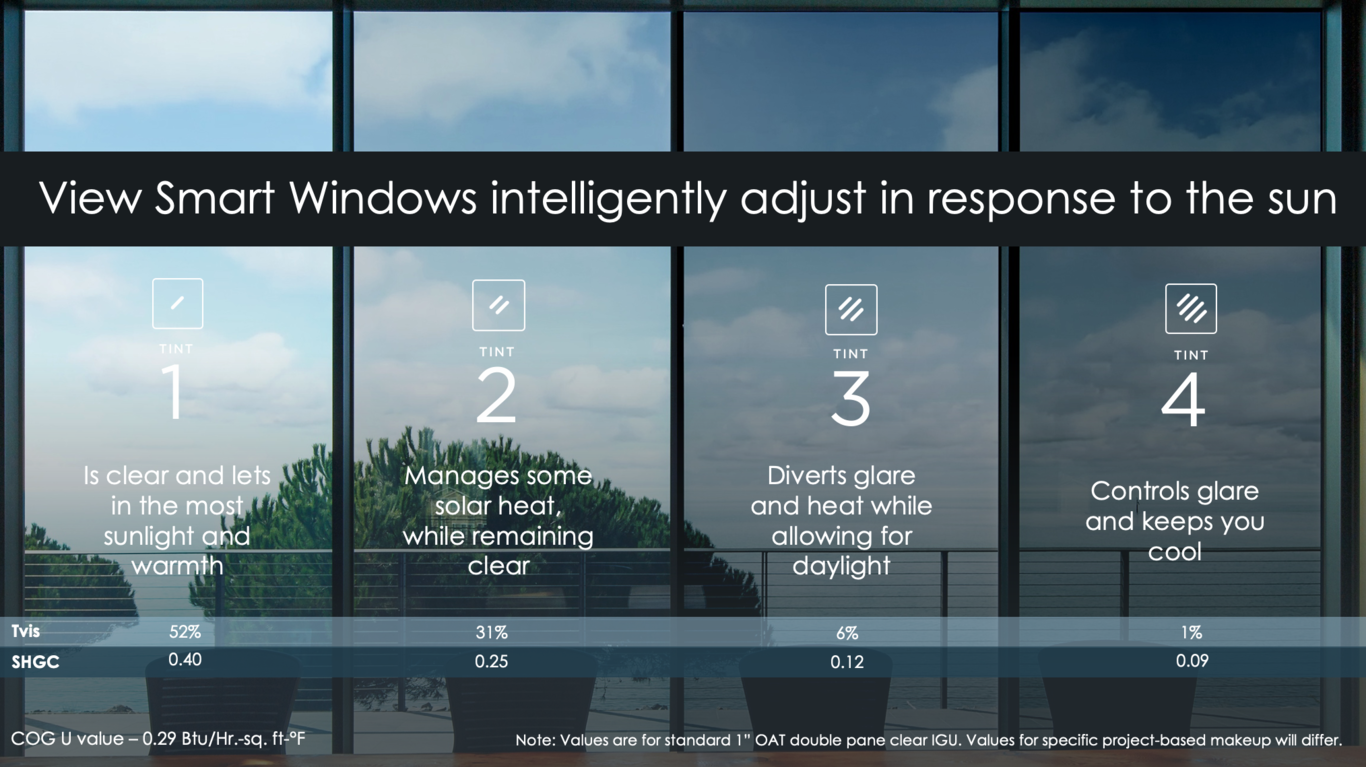
View Smart Windows utilize electrochromic technology and a predictive software algorithm called Intelligence. With Intelligence, windows respond automatically so that tenants can enjoy the views and daylight without lifting a finger. The key factors affecting glass tint include the depth of sun shining into the space, the amount of heat passing through the windows, and the cloud cover and reflections from nearby buildings.
Learn more about View Intelligence
Tint 1

52% Visible Light Transmission
Is clear and lets in the most sunlight and warmth. Used when the sky is cloudy or clear and the sun is not on the façade.
Tint 2

30% Visible Light Transmission
Manages some solar heat, while still remaining clear. Used on partly cloudy days.
Tint 3

6% Visible Light Transmission
Diverts glare and heat while still allowing for daylight. Presents average level of glare from direct sun or reflection off the adjacent building.
Tint 4

1% Visible Light Transmission
Controls glare and keeps you cool. Used to protect you against strong glare and heat.
Building Management Systems
Building Management Systems
Our building management systems allow you to control windows, monitor system behavior, and manage tenants. If you have questions about which application to use please reach out to your Customer Success Manager (CSM).
Building Manager Experience
For window installs prior to 2018.
Building Manager Experience Overview
Building Manager Experience is found at view-bme.com.
Creating an account >
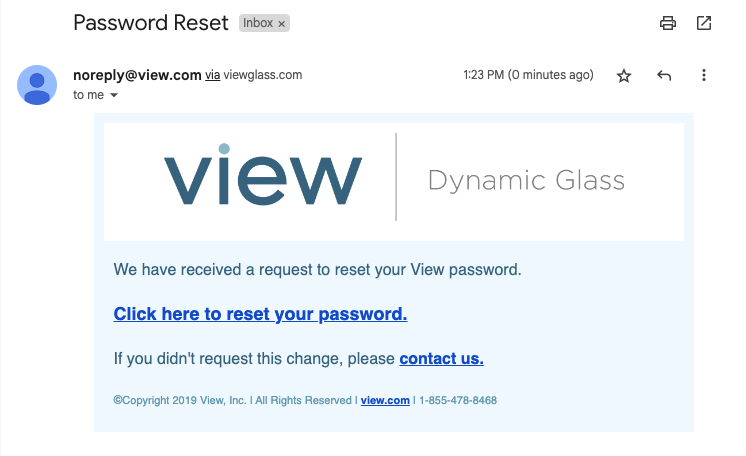
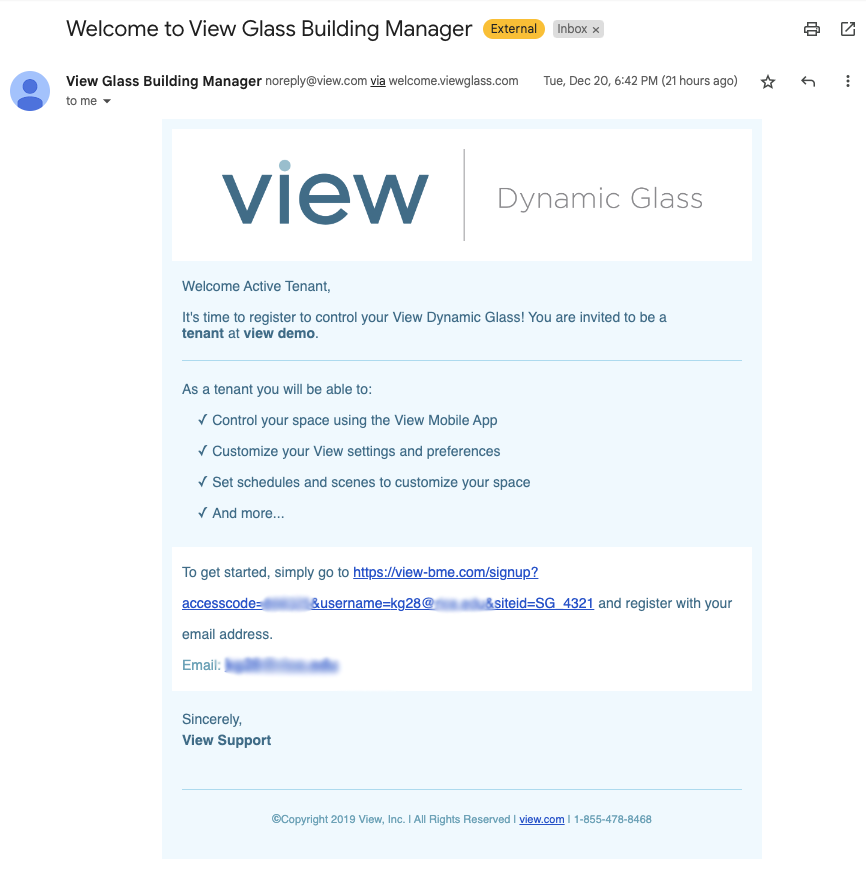
Your CSM or primary building manager will invite you to BME. You will then receive an email that looks like the following.
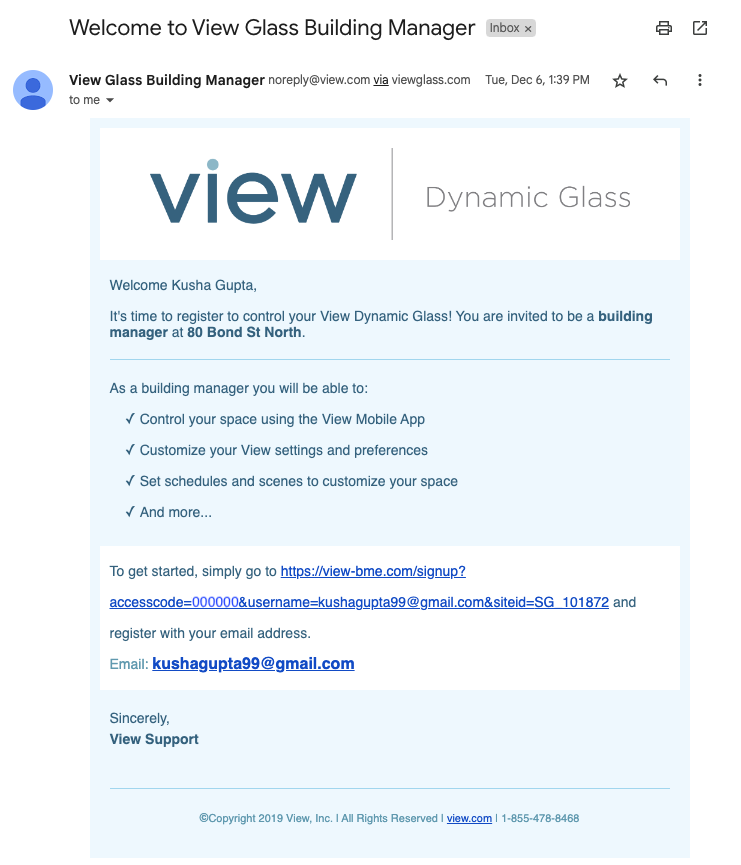
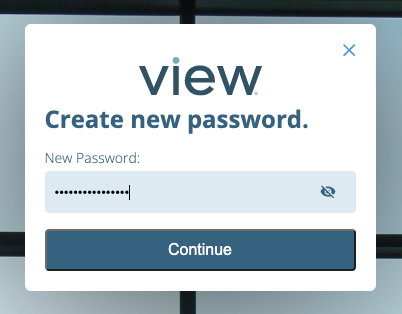
Then, please click on the link and create a password.
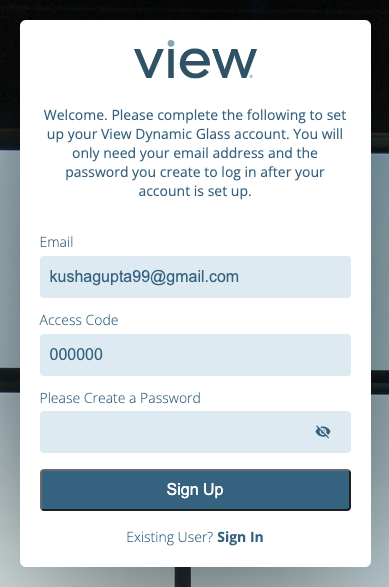
Logging in >
Please enter your email and password.

If you forgot your password, you can click “Forgot Password?” You will receive an email from [email protected]. Click on the link to create a new password.
Adding, editing, and deleting managers >
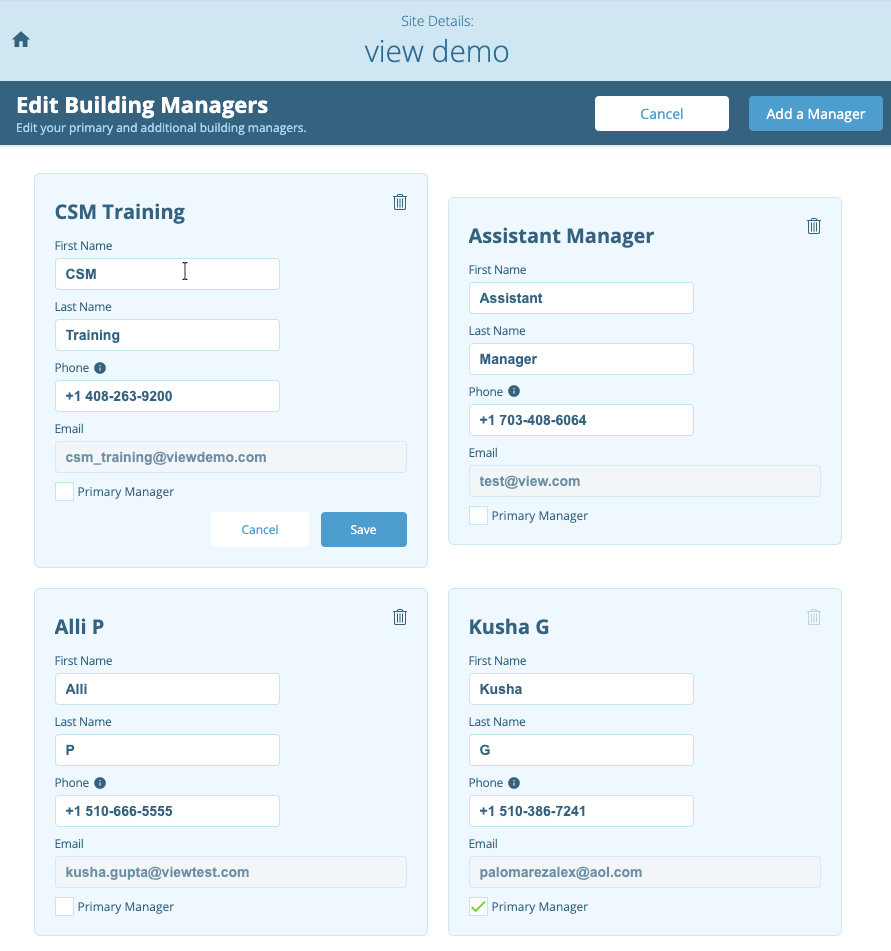
Only primary managers are able to add and remove managers and edit manager information. To begin, navigate to “Site Overview” and select “Managers.”

Delete managers by clicking on the trash bin icon in the upper right corner of the manager’s pane.
Add managers by clicking on the button in the upper right corner of the page.
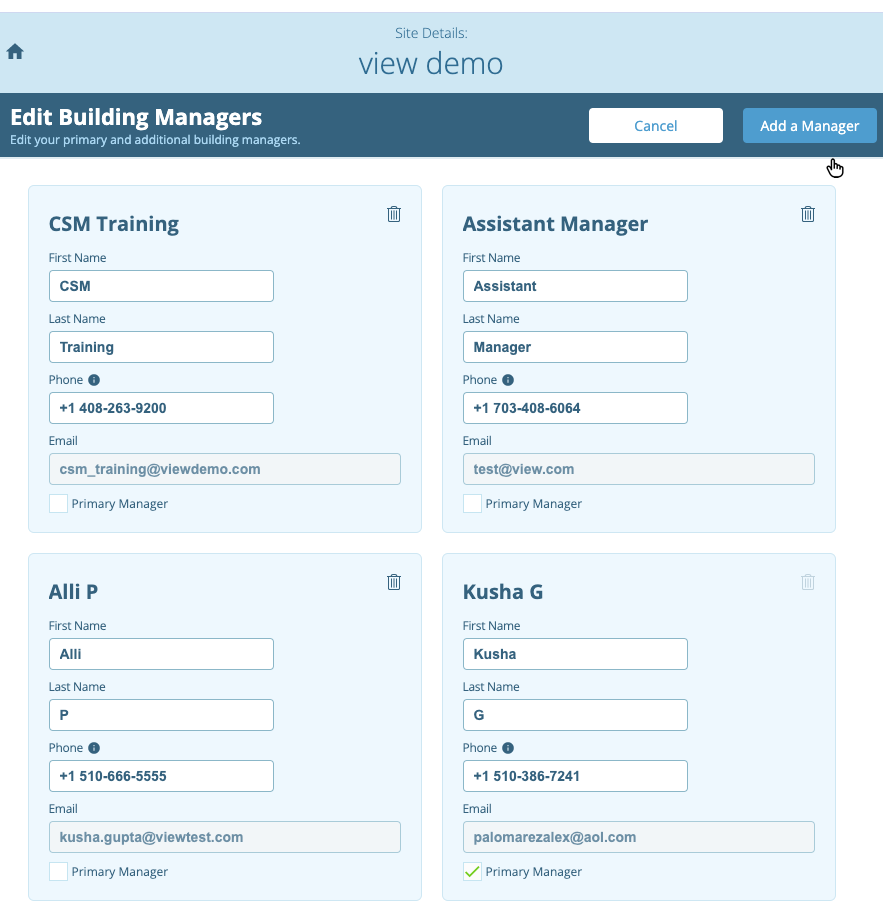
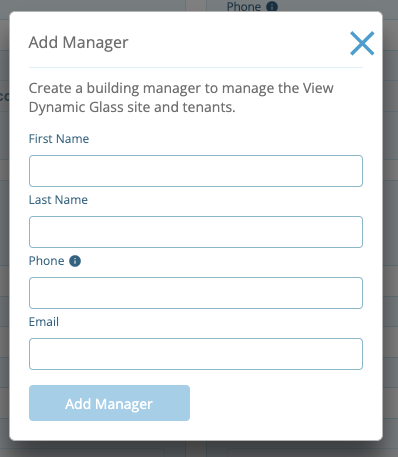
Once you click “Add Manager,” you can enter a secondary manager’s information, and they will receive an email guiding them to create their account.
To edit a manager’s information, click on a field in the manager’s panel, change the information, and click “Save.”
Managing tenants >
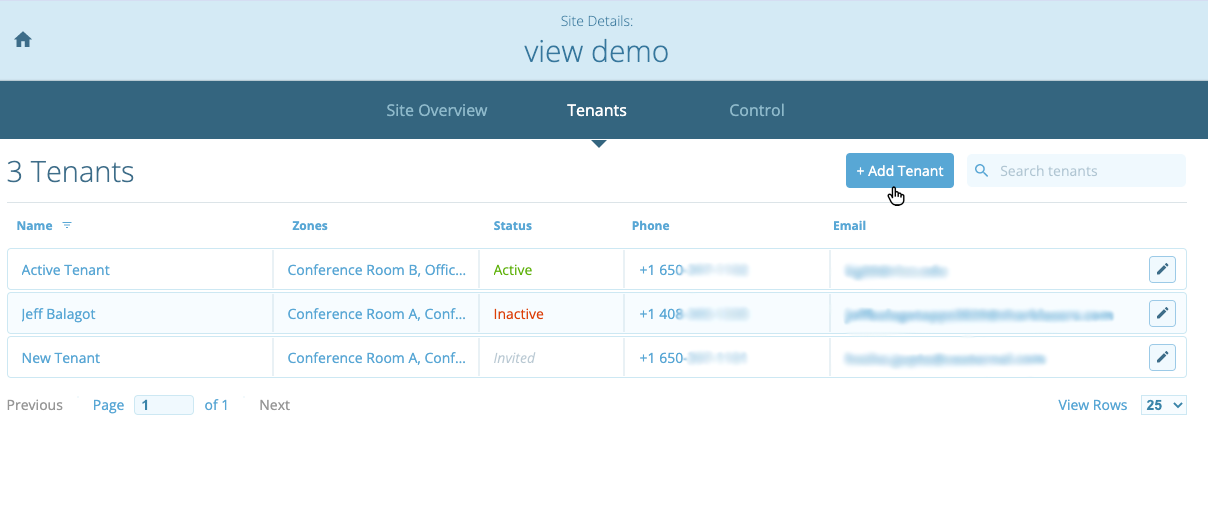
Under the “Tenants” page, you can see all your tenants’ information, zone access, and statuses. The possible statuses are:
- Active: The tenant has created an account with View and is still leasing.
- Inactive: The tenant’s lease has ended.
- Invited: The tenant has received an email to create an account, but has not done so.
To add a tenant, click on the “Add tenant” button in the right corner. You can remove a tenant or edit a tenant’s information and zone access by clicking on the pencil icon on the right of each tenant.
Please note that you cannot change the emails of a tenant once they have been added. You must delete and re-add the tenant if you wish to change their email.
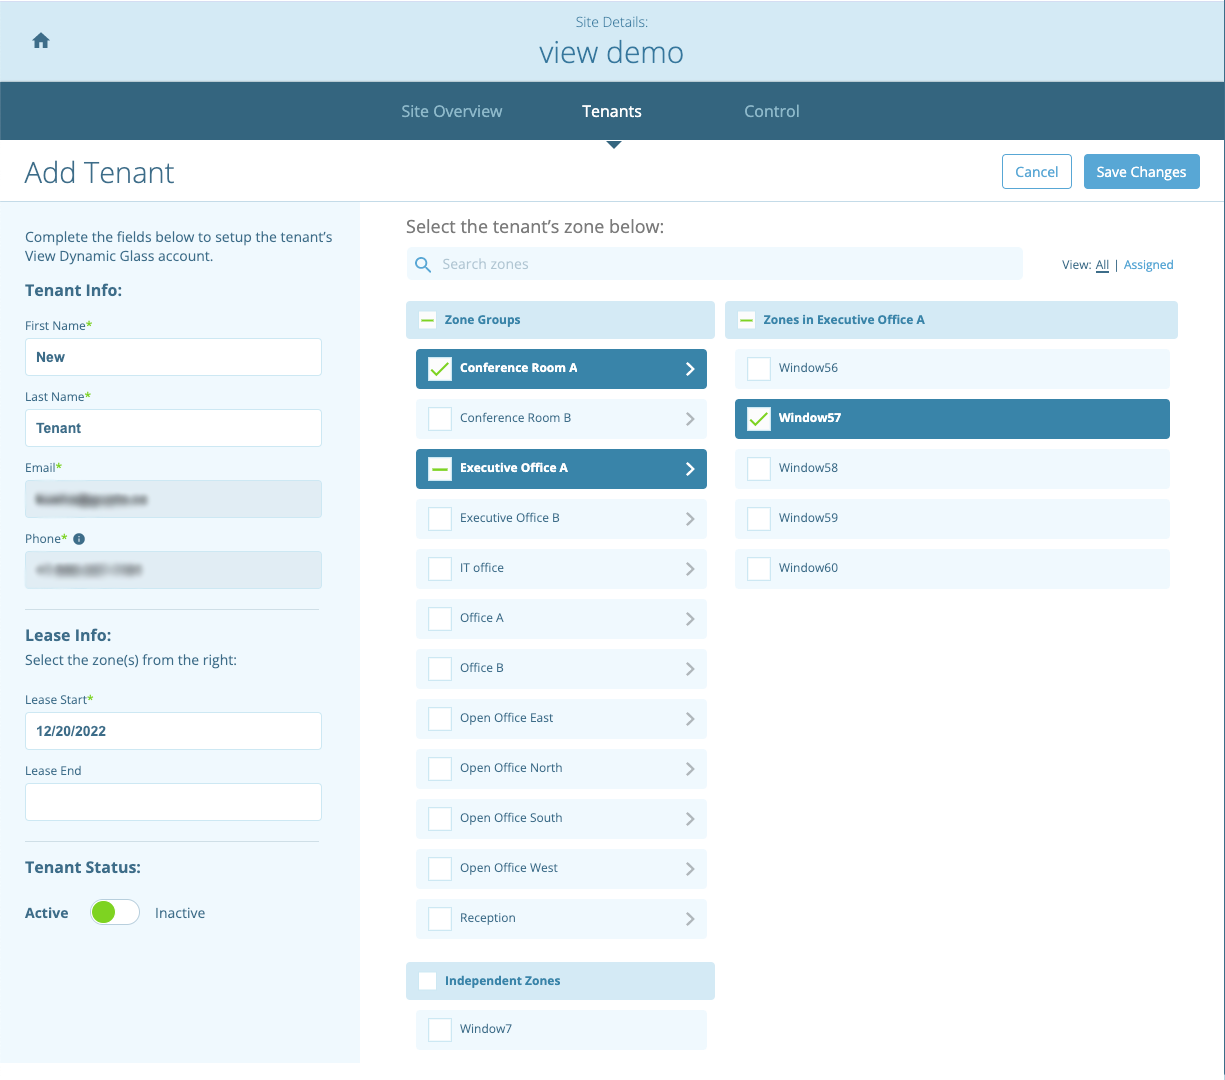
After clicking on “Add tenant,” fill in the left panel’s information and assign zone groups and/or zones that they can control. Then, click “Save.”
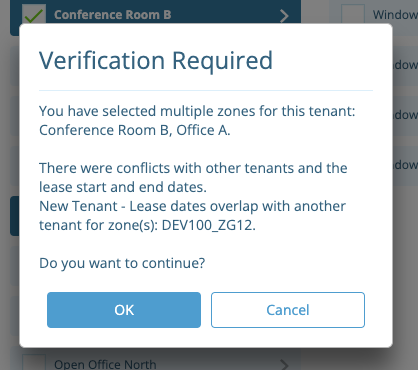
If you add a tenant that shares a zone group, you will be notified that other tenants also have access to that zone group, even if they have access to different zones. This is usually not an issue for tenants, so you can click “OK” if you wish to continue.
Tenant Perspective
Once you add a tenant, they will receive the following email. If they do not see their invite email in their inbox, make sure that they check their Spam folder.
After the tenant clicks on the link in their welcome email, they will be prompted to enter a password.
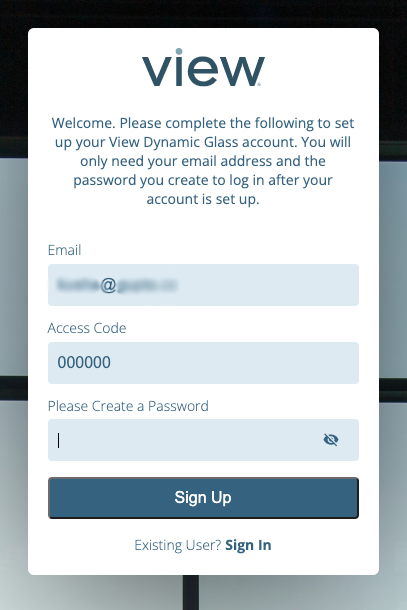
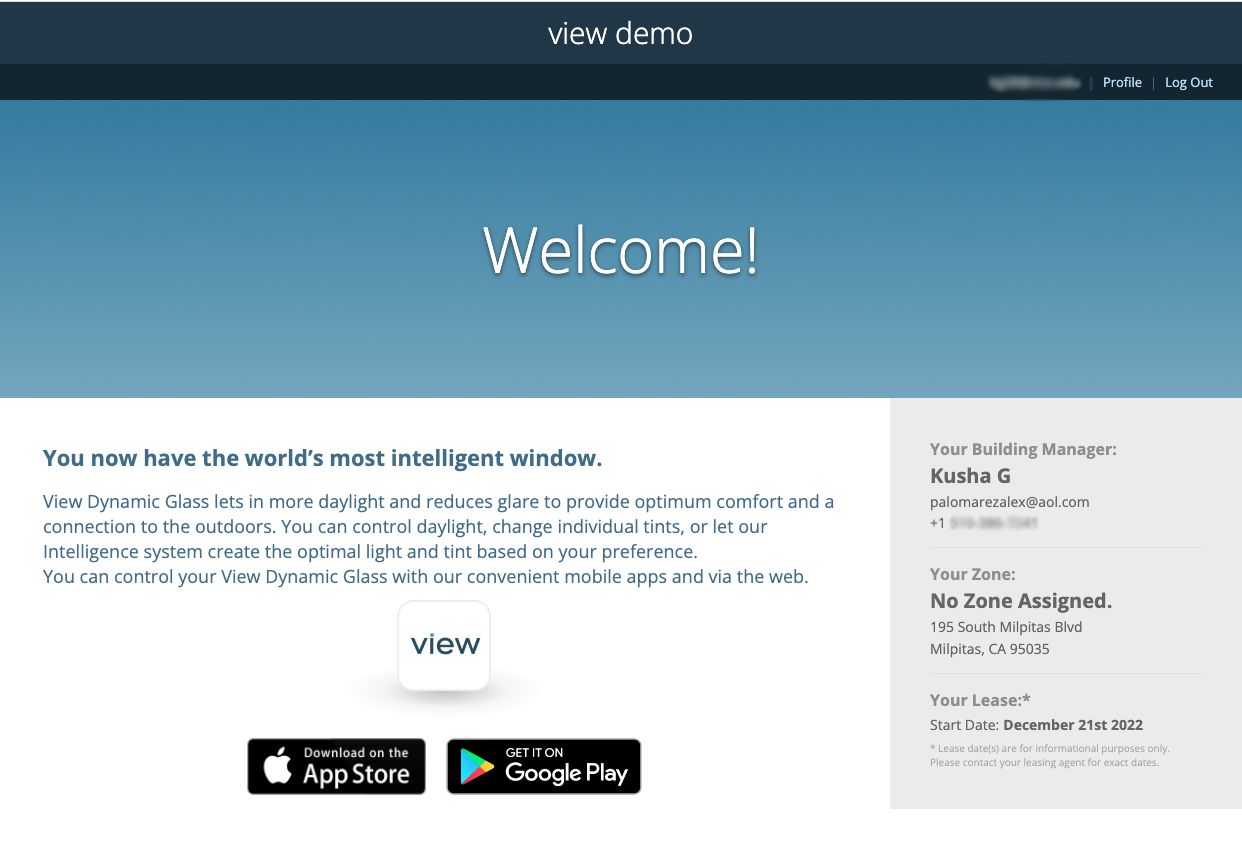
The tenant will then be taken to a page where they can click on the appropriate app store button to download the mobile app that enables them to control their windows.
Controlling windows >
To monitor and control your windows, click on the “Control” page and select one of the left tabs, which are detailed below.
Zones
Windows have four tint states, with tint one being the lightest and four being the darkest.
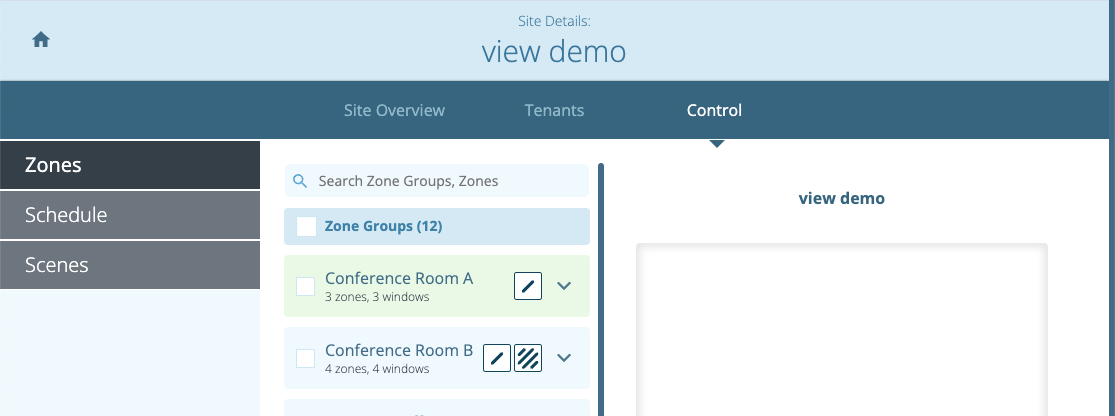
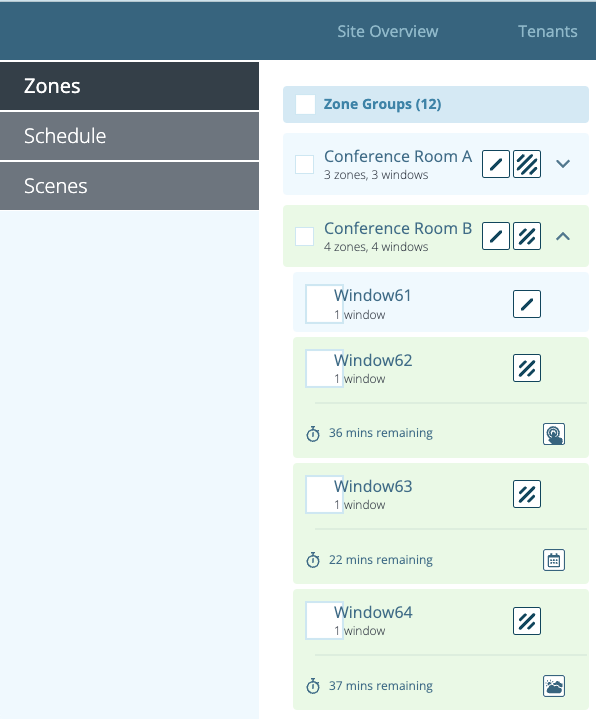
Under the zones tab, the tint state of a zone group is shown by the icons to the right of the name, with the number of lines representing the level.
A green zone group means at least one zone in the group is transitioning tints. If a zone group is transitioning tints, the new requested tint state icon will replace the old tint state, and it will blink when you first request a tint change.
A single tint icon next to the zone group means all zones in that group have the same tint state, or if transitioning, the zones will have the same indicated tint state after transitioning. Conversely, two tint icons next to a zone group indicate that the group has zones in differing tints, or, if transitioning, the transition will lead to differing tints. The icons represent the lightest and darkest tint within a zone group.
As such, after transitioning, all zones in Conference Room A will be tint one. In Conference Room B, zones range from tint one to four.
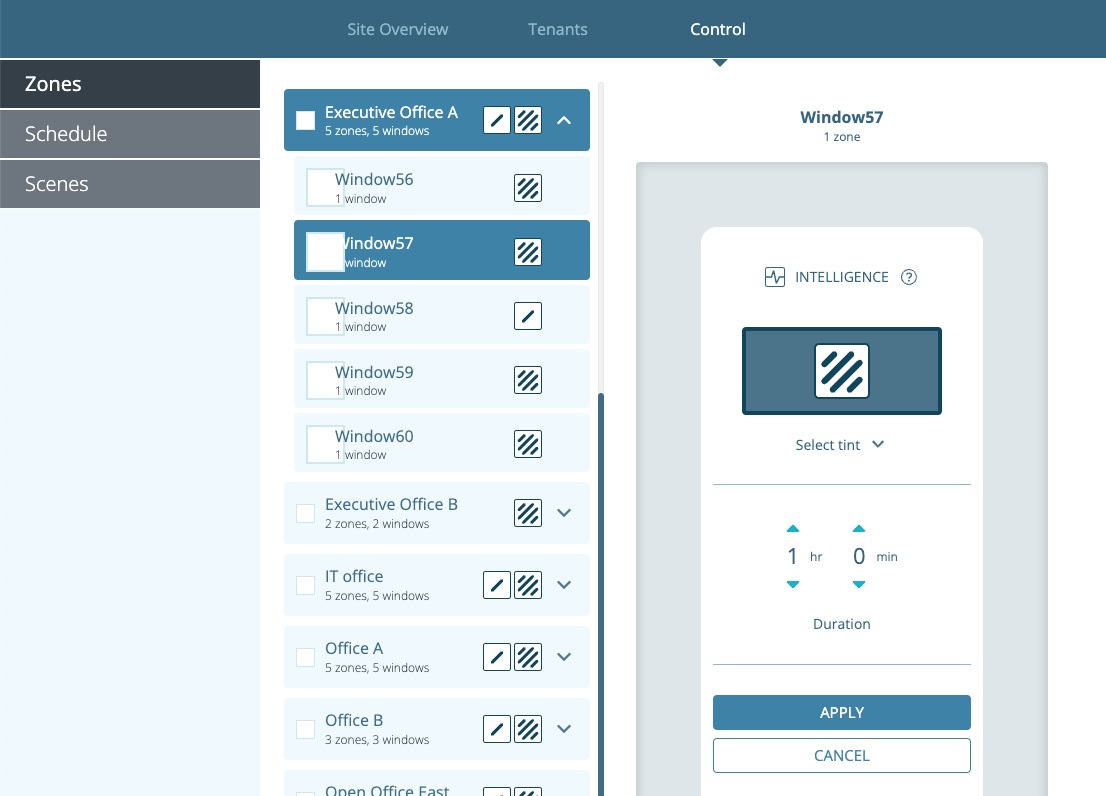
With View’s software, Intelligence, windows automatically adjust to the optimal tint state. However, you can set your windows’ tint for a specific amount of time with requests of overrides, schedules, and scenes. Overrides immediately transition windows to a tint, schedules set a specific time to tint a zone or zone group, and scenes allow you to activate a pre-set arrangement of tints across zones.
If you click on the arrow that is on the right of a zone group tint icon, you can see additional details for each zone. Each panel for the zone will have the zone’s tint state, the time left in the custom tint setting, and the request type, which is indicated by an icon in the bottom right corner. Below, the request types are as follows: Window 62 is an override, Window 63 is a schedule, and Window 64 is a scene.
To override, click on a zone and click “Select tint.” Then, choose the tint level and duration of the override. Press “Apply” to begin the override. Remember, all custom tint requests’ durations includes transitioning time, so be sure to budget extra time to complete the transition. Your CSM can provide you an estimate of how much time to budget.
Schedule
You can schedule scenes, zone groups, or zones in the schedule tab. When you first click on the tab, you can see the details of scenes, zone groups, and zones on the left, similar to the Zones tab. On the right, you can see all your schedules.
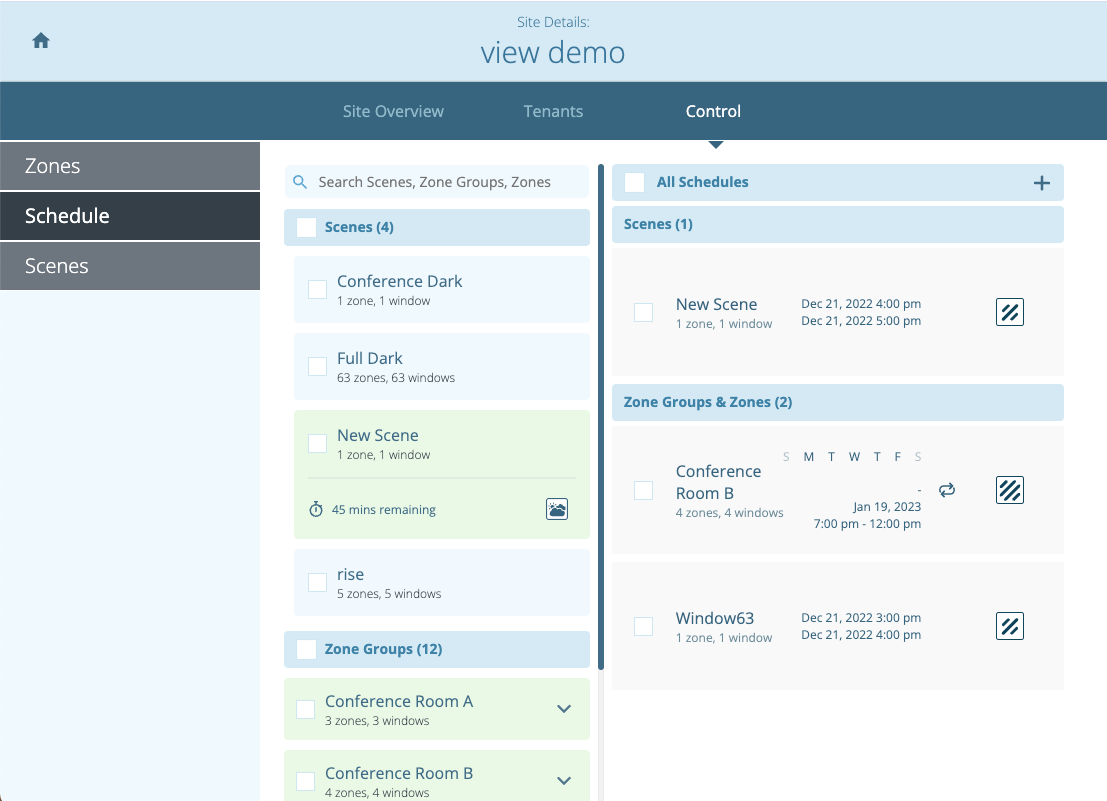
To edit a schedule, click on the check box next to it. For scenes, you can set the timing. For schedules of zones and zone groups, you can edit the tint level, timing, and recurrence.
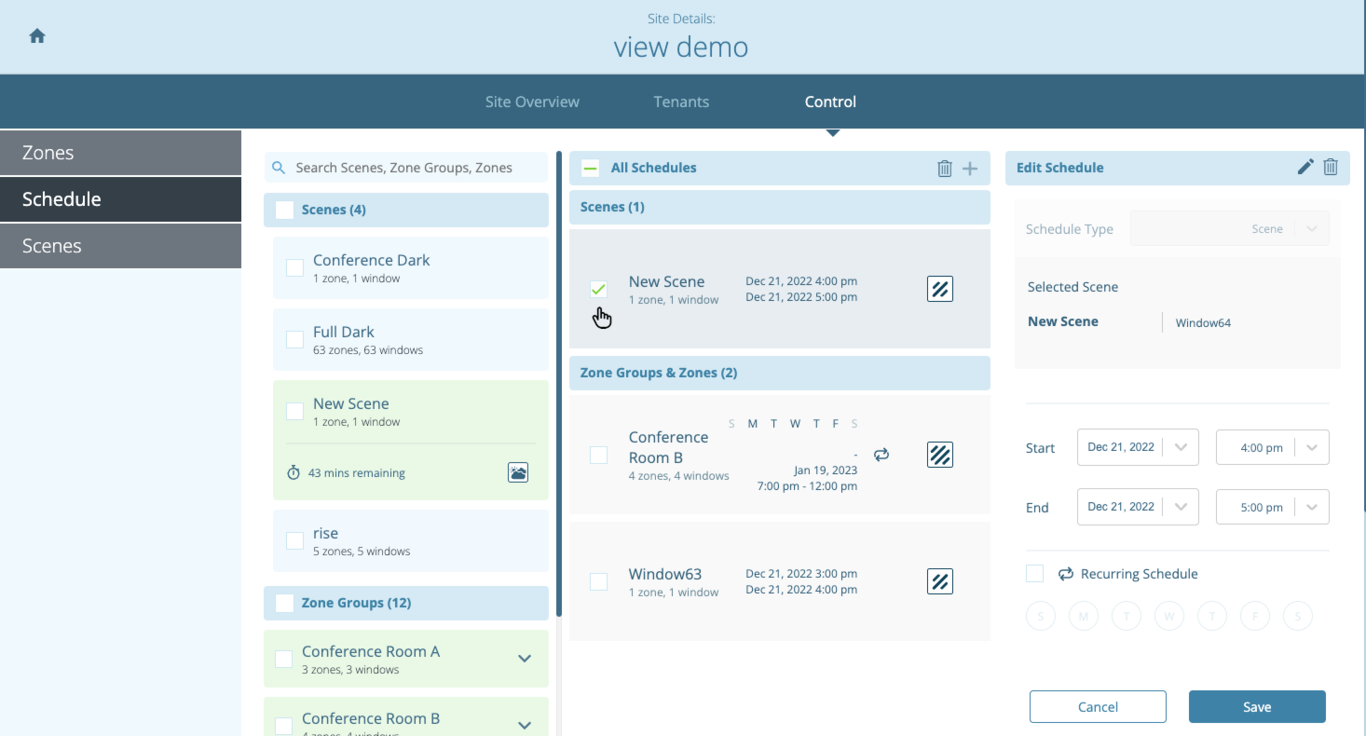
To create a new schedule, click on the “+” button that is to the right of “All Schedules” at the top of the page. In the “Schedule Type” drop down you can select to schedule scenes (that you already have created in the scenes tab) or zones/zone groups. Then, fill in the various attributes of the schedule


Scenes
In the scenes tab, you can create, delete, start, and schedule scenes. Scenes are a pre-set arrangement of tints across zones. For example, you might want to create a “Full Dark” mode, which tints all zone groups to tint 4.
To create such a scene, click on the “+” next to the “All Scenes” label, and enter a name for your scene. You can then add settings, which set zones/zone groups to a specified tint. You can have multiple tints in one scene by adding multiple settings.
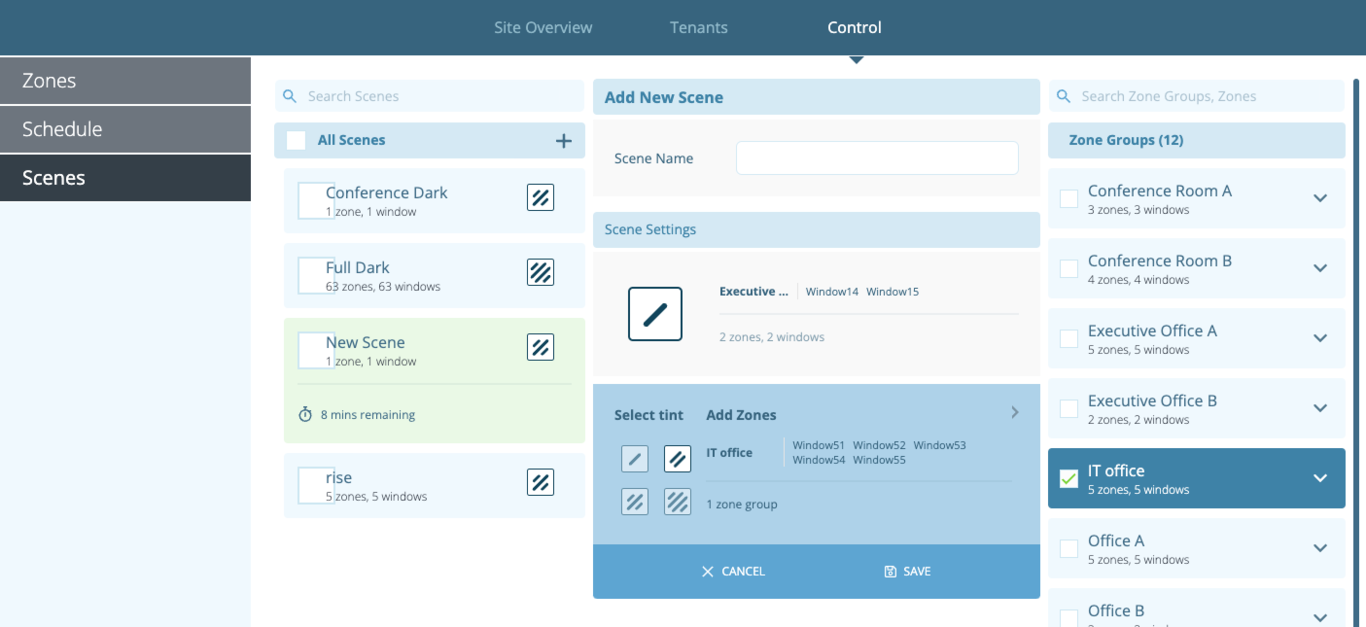
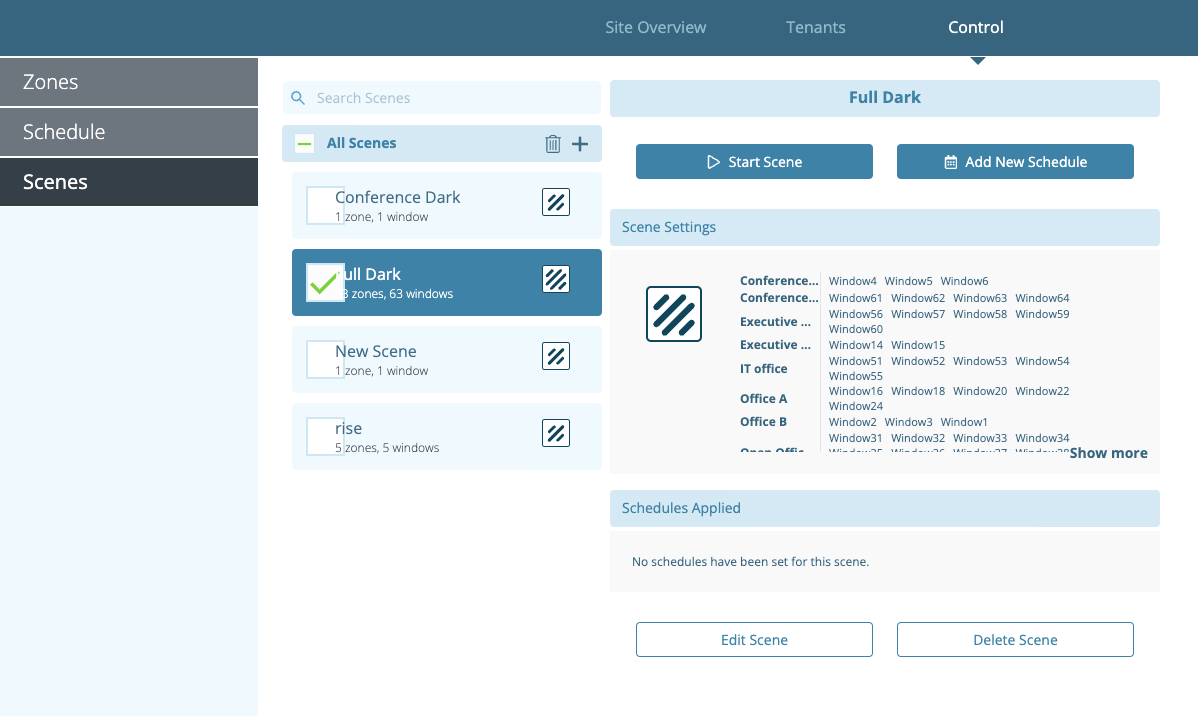
To start, schedule, edit, or delete a scene, simply click on the scene. You can also delete multiple scenes at once by selecting the check boxes of multiple scenes.
Site settings >
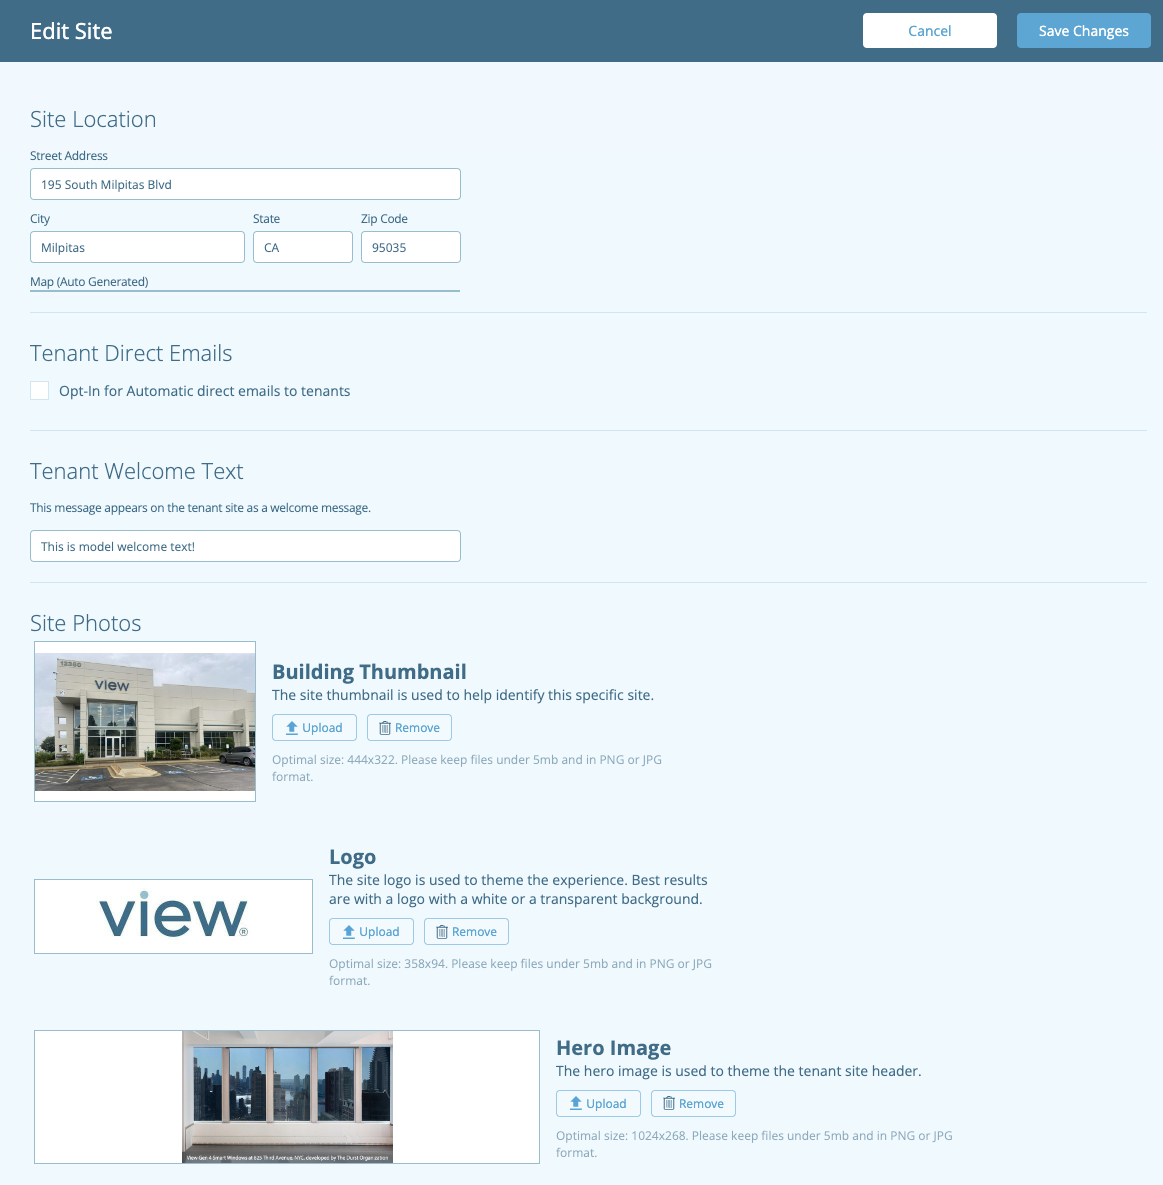
You can edit your building’s address or customize your tenants’ experience with the site. First, click on the “Edit Site” button on the right of the page.
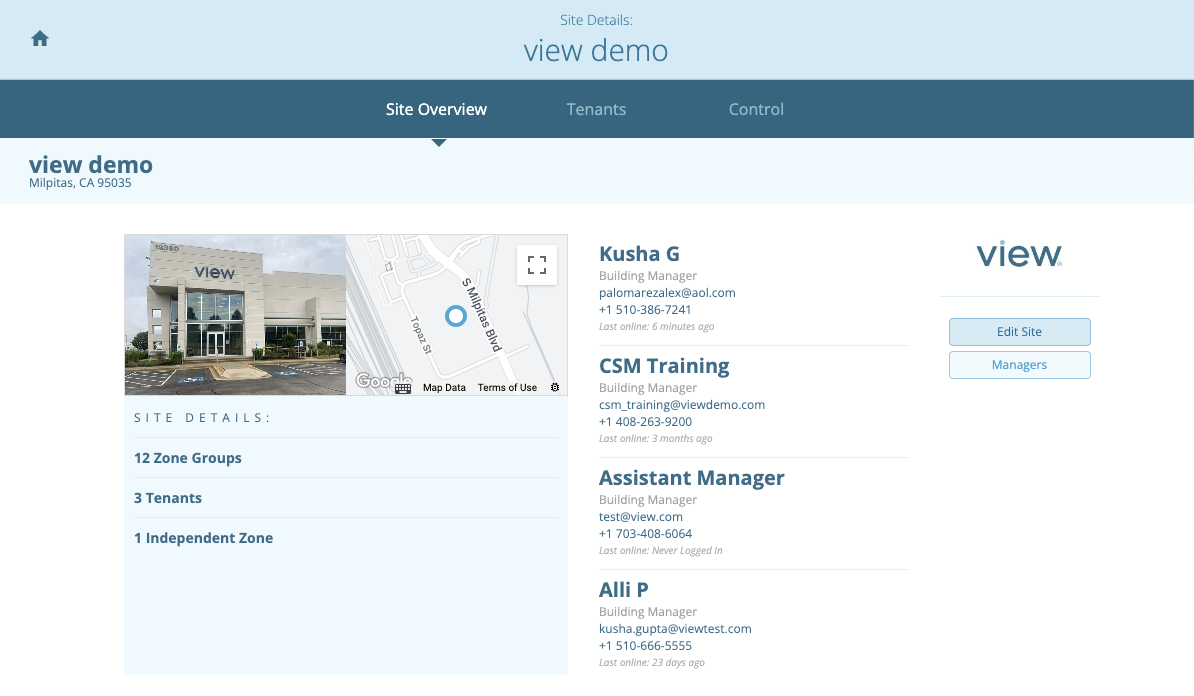
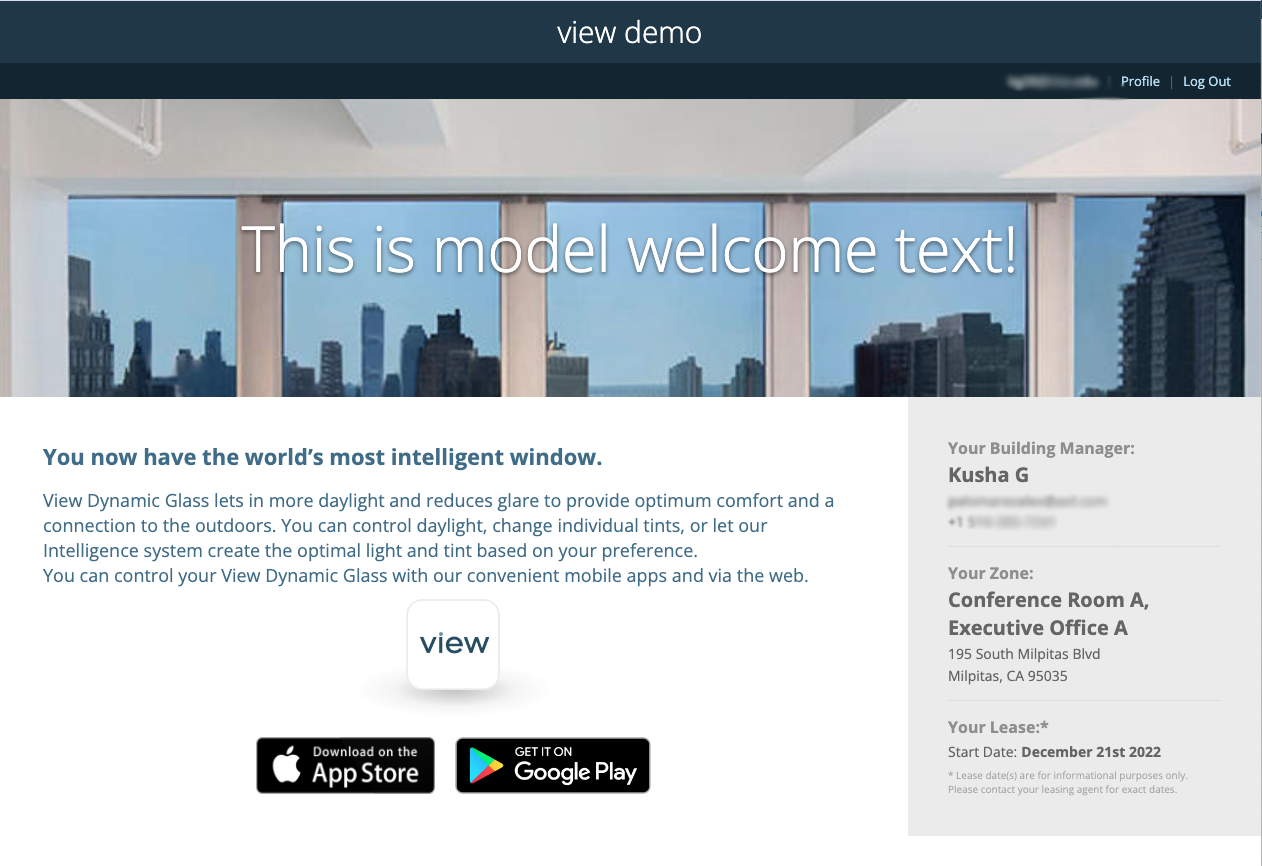
Then, you can add text and images to customize the page that tenants see when they create an account, change the building thumbnail for your view of the page, and opt into tenants automatically receiving emails when their zone assignments change.
Your view of the site will display a building thumbnail on the left and your logo on the right, as seen in the first image. Once a tenant creates an account, the following site would appear with the above settings:
Frequently Asked Questions
Frequently Asked Questions
We have compiled a list of commonly asked questions regarding View Smart Windows. Please reach out to your Customer Support Manager if your question is not below.
Support
How to contact View Support
For any issues, please reach out to your Customer Success Manager by phone or email. If you are unable to reach your CSM, you can reach our support team by e-mail at [email protected], by phone at +1.855.478.8468 EXT 1, or through the form below.