View 2.1 App Overview
App is not desktop accessible. Please download to your mobile device.
Log in >
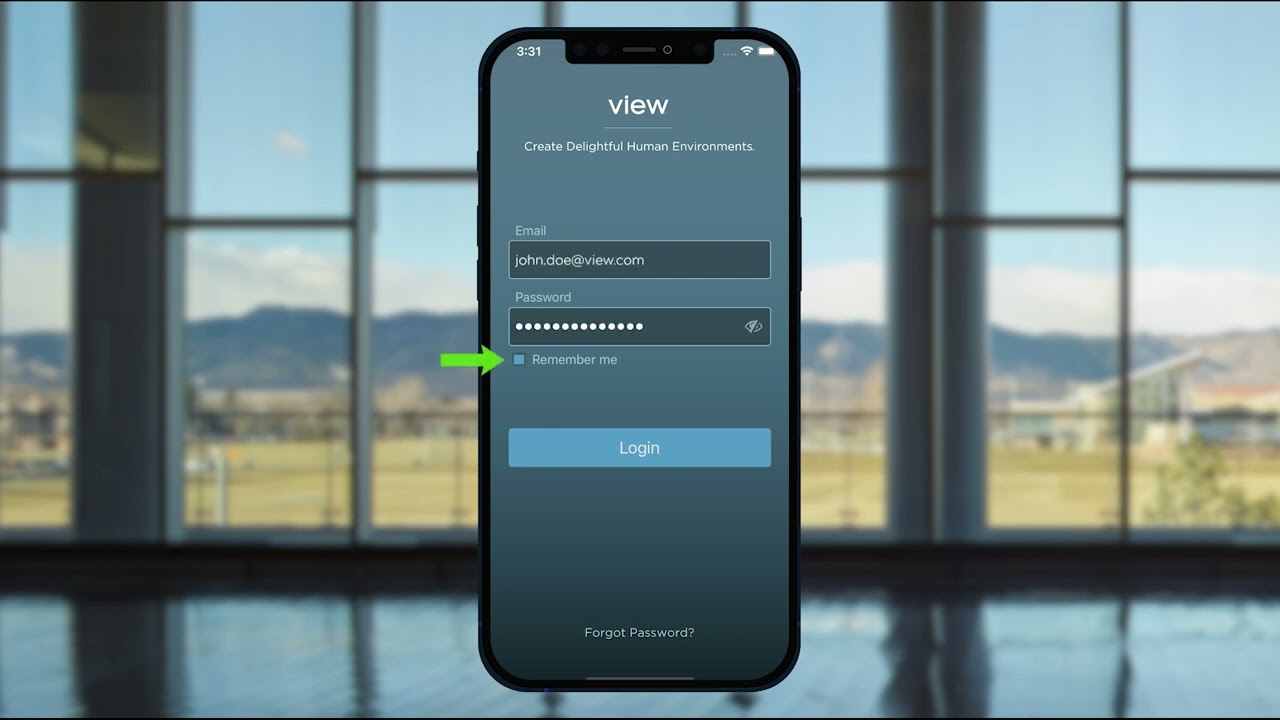
Launch the app from your iOS or Android device. If you have not received a login name and password, please contact your facility manager. Enter your login credential and check “remember me” if this is your device to avoid having to login the next time. If you forget your password, you can click “forgot password?” to receive a reset link via email.
-
Log In
-
0:35
Controlling your windows >
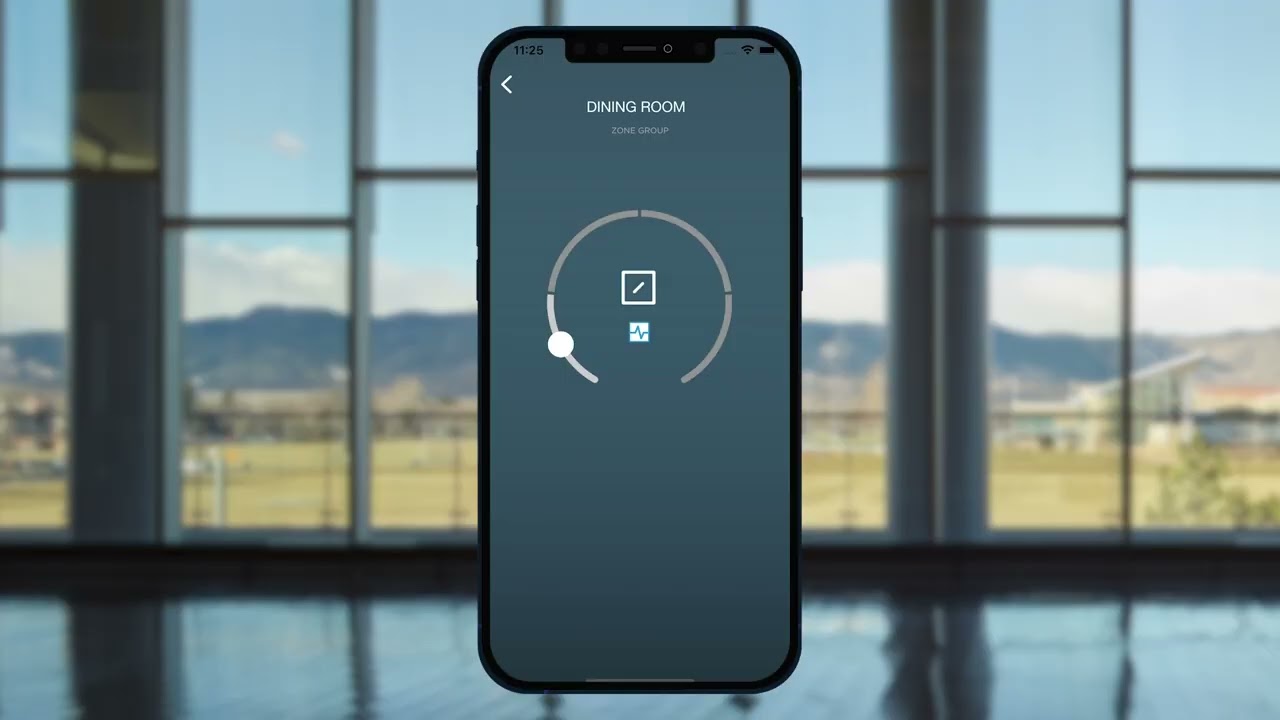
Access the Zones page from the App Overview to control your windows. There are four tint states. Tint one is clear and tint 4 is the most tinted. To override tint states, click on a zone and pick your desired tint state. Then, select an override time and confirm your selection. The icon in the middle shows the current tint state. If the icon is blinking, the glass is transitioning from one tint to another. The smaller icon below the tint state indicates whether the glass is running on intelligence, a schedule, a scene, a sleep in or a manual override. Cancel any override by clicking “cancel override” on the control screen.
-
Controlling your windows
-
1:13
App overview >
Select the menu icon to access the app overview. The zone screen is where you can view your zone status, select zones and override to new tint states. Sleep in with View is our latest feature in which you can create a Sleep in that aligns with your morning routine. Live View™ allows you to monitor your daily dynamic glass operation. From the schedules screen you can view, create and modify schedules. Finally with the Scenes screen, you can create and activate scenes, which are preset configurations.

-
App Overview
-
0:41
Accessing zones >
Once you have logged in, you will directly land on the zones page. You can also access Zones by clicking on the menu icon to access the app overview. Zones are groups of windows that function together. Zones are furthered grouped into zone groups. For instance, in an apartment building a zone group might consist of all the windows in a living room. You can select individual zones by clicking on the text or select a group(s) of zones by clicking on the round checkbox beside the group. You can select as many zones or zone groups as you want. To view any zone, simply click on the icon for that zone or if you have used the check box multiselect feature click the arrow on the bottom of the screen. When a zone or zone group has been selected, it will redirect you to a page where you can set overrides and view the mode its currently in.

-
Accessing Zones
-
0:55
Sleep In with View >
Sleep In with View is our latest feature for the app. It allows you to create a Sleep In that aligns with your morning routine, so you can start your day with natural light. This feature can be accessed from App Overview or in the Schedules page. You will be redirected to a welcome page for Sleep In where you will answer questions to personalize your Sleep In. Edit your upcoming Sleep Ins by clicking on the Sleep In you would like to modify. You can adjust the date, bedtime and wake up times, duration, and room or delete a Sleep In. To create a new Sleep In, click on the add button on the top right. Create a name. Set up your bedtime and wake up time. For example, you sleep at 11 pm and would like your windows to lighten by the time you wake up at 8 am, so you will set your wake up time to be at 8:00 am. After, choose which days you want this to happen and how often it reoccurs. Pick your desired room for the Sleep In to occur. Click save on the top right. Once saved, you will be redirected back to the Sleep In page where you can view your new Sleep in and all upcoming Sleep Ins.

-
Sleep In with View
-
1:20
Setting schedules >
The schedules tab will allow you to view, set and edit schedules. Access the schedules tab from the app overview. The schedules tab will show all your upcoming schedules in an agenda. You can set both one time and daily or weekly recurring schedules. To create a new schedule, tap the “+” icon. From this screen you can choose which zones or zone groups to be included in the schedule by clicking on the round checkbox, pick a tint level, and then pick the times you want the schedule to occur, such as 7:30 pm to 12 pm and set the schedule to repeat weekly from Mondays to Fridays. Click save to create your new schedule. You can tap that schedule at any time to edit or drag your finger to the left of screen to edit or delete.

-
Setting Schedules
-
1:04
View scenes >
Scenes allow you to quickly and easily choose a tint setting involving as many zones and different tint states as you like. To create a new scene, tap the “+” icon and either create a new tint event or select an existing tint event. You can then name and save the tint scene. Multiple tint events can be used to make one scene. You can set the scene duration by clicking on “Start Scene”. Once you have selected a time, click Start to activate your Scene. A schedule will automatically be created, and you can adjust the date and times you want it to occur by clicking on the schedule text. You can also delete a schedule and scene or stop a scene by clicking on the red text. You can delete scenes by dragging them left on the menu until the red delete icon is displayed. Tap it and the scene will be deleted.

-
View Scenes
-
1:16
Live view >
Live view allows you to monitor your daily dynamic glass operation. To access the Live View tab, choose from the app overview. You can access all zones by clicking on the drop-down arrow next to each zone name. To access each zone individually, click on the name of the zone. The page will show you a live monitoring of a zone and display the times in which tint state and mode has changed in a list view. To exit out of a zone, click on the drop-down arrow next to each zone name.

-
Live View
-
0:38
Profile and settings >
Your View Mobile App settings can be accessed from the App Overview. Click on your name at the bottom to view profile information and settings. From here you can send feedback to View, change your password or turn on wall interface mode as well as view other information about the app.

-
Profile and Settings
-
0:21